
Inspect the brake components regularly to maintain optimal performance. Replace worn friction materials at least every 30,000 miles, or sooner if you notice symptoms such as squeaking or reduced stopping power. Consistent checks not only extend the lifespan of other related parts but also enhance safety.
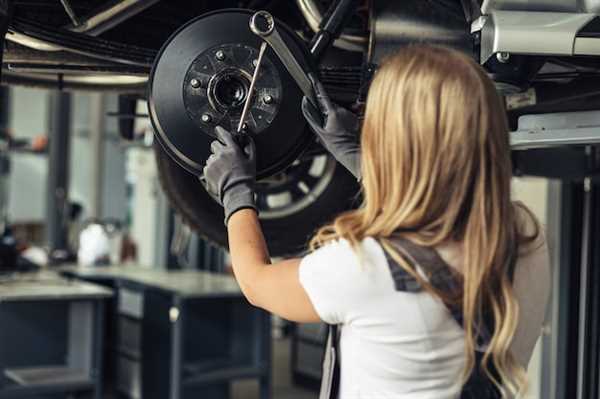
Before starting the job, gather the necessary tools: a jack, jack stands, a lug wrench, and a brake caliper tool. Ensure the vehicle is parked on a flat surface and secured properly. Removing the wheel will give you clear access to the braking system.
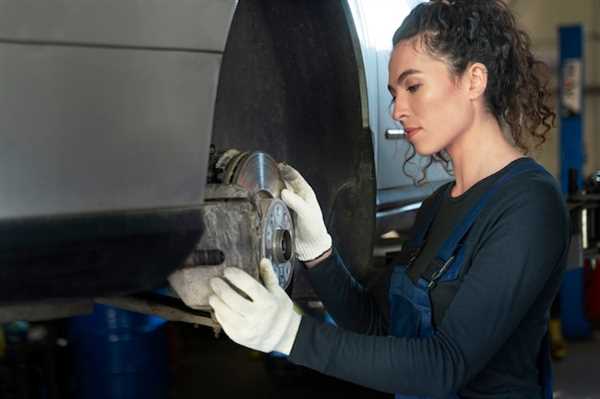
Once you’ve detached the wheel, inspect the caliper and rotor for wear. Replace any parts showing significant damage. Lubricate the caliper slides and ensure the brake hardware is functional. Proper assembly and maintenance play a pivotal role in reliable stopping ability.
After reinstalling everything, pump the brake pedal gently to seat new components. Test the brakes at low speed before hitting the road. Regular attention to these parts not only assures safety but also contributes to the overall performance of your vehicle.
Choosing the Right Brake Pads for Your Vehicle
Select pads based on your driving style. If you frequently drive in heavy traffic or make long journeys, opt for semi-metallic variants. They offer excellent performance due to their heat resistance and responsiveness.
Consider materials. Organic pads are quieter and softer but may wear out faster. Conversely, ceramic versions provide better durability and reduced dust but might be noisier during operation.
Check the manufacturer’s recommendations. Consult your vehicle’s manual for specific requirements, such as size and compatibility, ensuring optimal fit and function.
Evaluate performance ratings. Look for pads that offer reliable stopping ability and fade resistance. High-quality options often come with certifications from automotive organizations.
Think about maintenance frequency. Some pads require more attention than others, especially those that generate excessive dust or noise. Choose options that align with your maintenance schedule and comfort level.
Step-by-Step Process for Removing Old Brake Pads
Secure the vehicle on a flat surface and engage the parking brake. This ensures stability during maintenance.
Loosen the lug nuts on the wheel slightly before lifting the vehicle with a jack. Fully remove the wheel once elevated.
Locate the caliper, which houses the brake components. Remove caliper bolts using a wrench or socket. Make sure to keep these bolts safe for reinstallation.
Carefully slide the caliper off the rotor. Suspend it using a wire or bungee to prevent putting strain on the brake line.
Identify the old pad setup, typically held by clips or brackets. Remove these as necessary. Gently pull the old pads out from the caliper or bracket.
Before installing new components, inspect the rotor for wear and damage. Clean it using brake cleaner if necessary to ensure proper function.
Insert the new pads into the caliper or bracket, ensuring they seat properly against the rotor. Replace any clips or retaining hardware that were removed.
Reposition the caliper over the new pads and align it with bolt holes. Tighten the caliper bolts securely to manufacturer specifications.
Reattach the wheel and lower the vehicle from the jack. Tighten the lug nuts in a criss-cross pattern for even torque.
Test the brakes gently before regular operation to ensure everything functions correctly and safely.
Installing New Brake Pads and Ensuring Proper Alignment
Position the fresh friction components into the calipers with precision. Align the clips and ensure they fit snugly into their designated places to avoid any shifting during operation.
Use a torque wrench to secure the caliper bolts according to manufacturer specifications. An inadequate tightening may lead to uneven wear or noise, while over-tightening risks caliper damage.
After installation, check the alignment of the assembly. Ensure the rotors are not warped, and the calipers are centered over the new components. Slight misalignment can lead to premature wear.
Before closing everything up, engage the brake pedal a few times to seat the components properly. This action confirms that the system is functioning as it should and helps identify any potential issues.
Finally, inspect the brake fluid level and adjust if necessary, ensuring a full system for optimal performance. Check your vehicle’s manual for specific instructions regarding the reassembly process and brake bleeding, if applicable.


