Begin the process by gathering necessary tools: an adjustable wrench, an oil filter wrench, a funnel, and a container for used liquid. Make sure to wear gloves to protect your hands from any grime.
Next, park the vehicle on a flat surface and let the engine cool down. Locate the drain plug beneath the engine and position your container beneath it. Remove the plug to let the liquid flow out completely. Be cautious of the temperature and any spills.
Once the old fluid has been removed, it’s time to replace the filter. Consult your car’s manual for the appropriate filter type. Remove the old filter and install the new one, ensuring a snug fit. Reattach the drain plug securely.
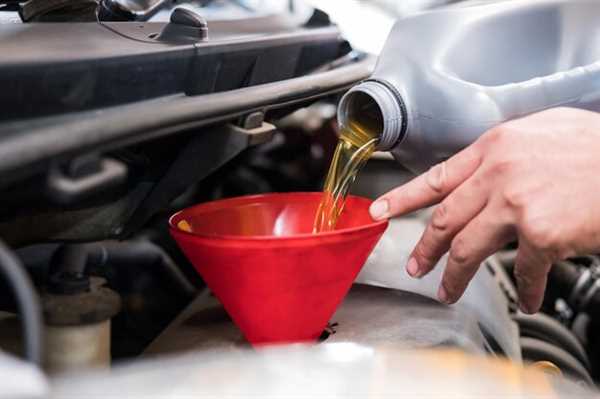
Now, pour the fresh liquid through the funnel. Check your vehicle’s specifications to determine the correct amount needed. After adding fluids, run the engine for a few minutes and check for leaks around the filter and plug.
Dispose of the used fluid properly at a recycling facility. Regular maintenance will enhance your vehicle’s performance and longevity.
Gather Necessary Tools and Materials for an Oil Change
Ensure you have the following items ready: a wrench set, an oil drain pan, and an oil filter wrench. These tools will facilitate the removal of the drain plug and filter with ease.
Select the appropriate type and amount of lubricant for your vehicle. Check your manual for specifications regarding capacity and viscosity.
A funnel simplifies the pouring process, preventing spills and mess. Additionally, having rags or paper towels on hand aids in cleaning up any accidental drips.
Safety gear such as gloves and goggles protects against contact with fluids. A jack and jack stands securely elevate the vehicle to provide adequate clearance for access to the undercarriage.
Lastly, prepare a sealed container for disposing of used fluids responsibly. Many automotive shops accept oil for recycling, ensuring environmentally friendly disposal.
Step-by-Step Instructions for Draining Old Oil
Park the vehicle on a flat surface and turn off the engine. Allow the engine to cool for at least 30 minutes to prevent burns.
Gather necessary tools: an oil drain pan, a wrench or socket set, and a funnel. Wear gloves to protect your hands.
Locate the oil drain plug underneath the car, typically at the lowest point of the oil pan. Use a wrench to carefully loosen the plug.
Position the drain pan under the plug to catch the used liquid. Remove the plug completely and let it drain fully into the pan. Avoid forcing the plug if it’s stuck.
After all the liquid has drained, replace the drain plug and tighten it securely without over-torquing.
Dispose of the old liquid properly at a recycling center or a local auto parts store. Check local regulations for disposal instructions.
Afterwards, check the oil level using the dipstick and replace it if necessary for optimal vehicle performance.
How to Properly Dispose of Used Oil and Filters
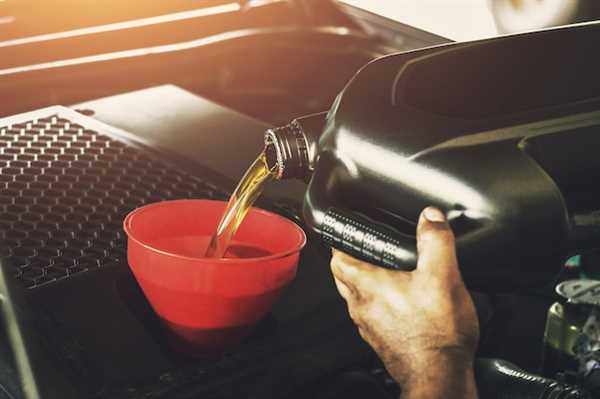
Always take used lubricant and filters to a designated recycling center. Many auto parts stores and service stations offer disposal services for these materials. Check local regulations to identify specific guidelines in your area.
Store the used lubricant in a sealed container to prevent leaks. Ensure the filter is also drained and placed in a separate container for proper recycling. Label each container clearly to avoid confusion.
Participate in community collection events for hazardous waste if available. These events are designed to help residents safely dispose of automotive fluids and components.
Never pour used lubricant down drains or onto the ground. This action can cause severe environmental damage. Keep in mind that many recycling facilities can properly process both various fluids and oil filters.